Prepper projects: How to make Crisco candles
04/24/2019 / By Zoey Sky
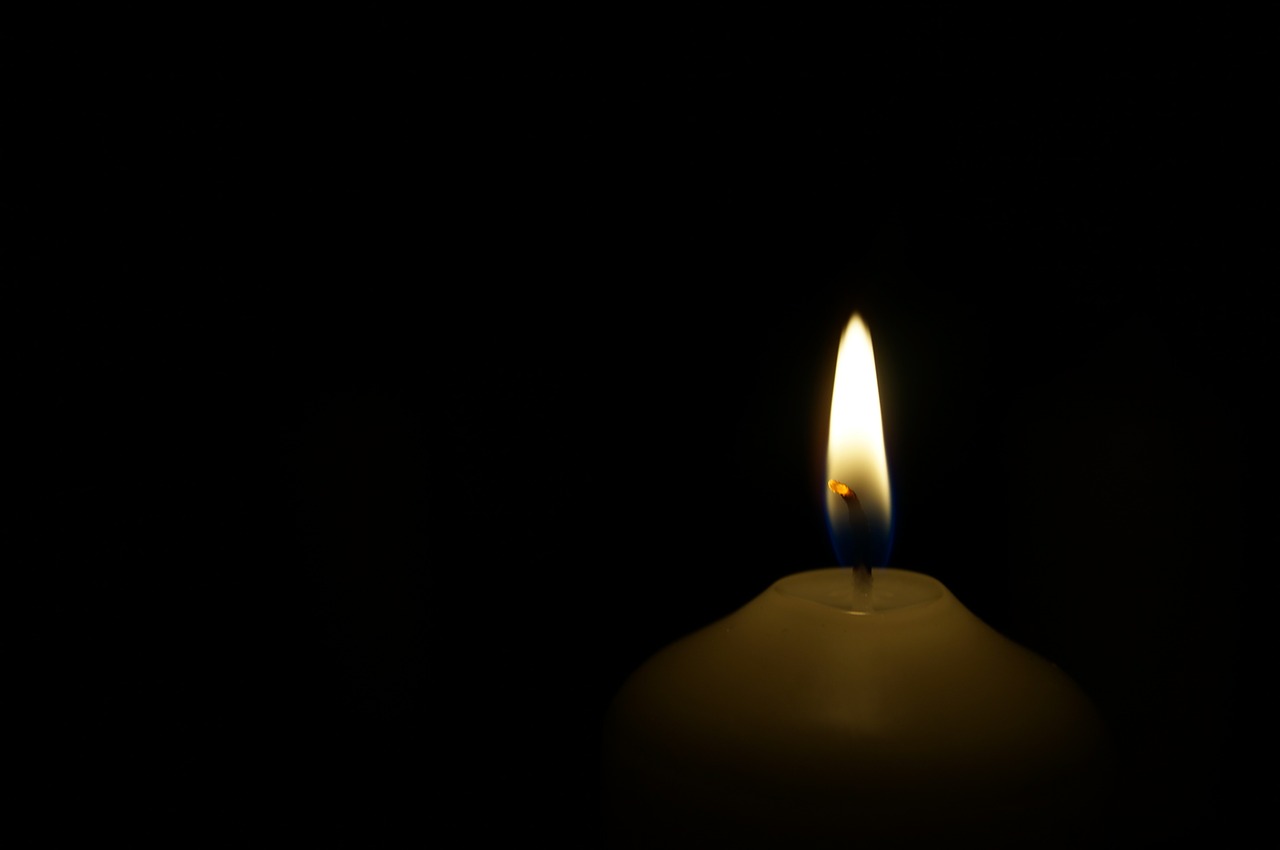
Using their skills, preppers can make almost anything out of everything. In fact, they can even turn Crisco into a candle, which can be handy during a power outage. (h/t to TheOrganicPrepper.com)
If you want to make your own Crisco candle, here are some things to keep in mind.
When you search online for guides on how to make Crisco candles, most of the results would tell you to simply stick a wick into a can of Crisco shortening. It may seem incredibly simple, but it’s a bad idea to light this “instant” Crisco candle.
This is because Crisco, a brand of shortening made from vegetable oil, isn’t packaged in metal cans. Crisco is stored in cardboard tubes with metal at the top and the bottom, which makes them a fire hazard.
Making safe DIY Crisco candles
To make safe Crisco candles, you need to follow several extra steps. The secret is moving the Crisco into glass containers. You can re-purpose old jars from store-bought items like jam, salsa, or spaghetti sauce. (Related: Survivalist skills: Make your own lamp from available materials.)
Make sure you’re using jars that are resistant to fire, leaks, and cracks. If you want to be extra careful, buy containers that are heat-resistant. A Crisco candle will burn like a regular candle, but it may pool and the flame will get hot as it burns, so you need a jar that can withstand heat.
When making Crisco candles, you can use jelly jars that are designed to withstand high heat. Other options include ceramic bowls or well-sealed metal tins, which are more heat-resistant than clear glass. Check the shape of the container. If your jar has a wide mouth and a narrow bottom, it will get hotter and hotter as it burns, which could make it prone to cracking.
Before you start making the candle, melt the Crisco in a pan on the stove.
Materials:
- Jars
- Wicks (Buy a wick kit with a braided wick that can be cut to the appropriate size and metal discs that will keep the wicks in place.)
- Crisco (Alternatively, you can use any brand of vegetable shortening.)
- A pencil
- Silicone caulking
Steps:
- Thread the wick through the metal disc, then secure the disc to the bottom of the jar using a bit of silicone caulking.
- Balance the pencil lengthwise over the mouth of the jar, then secure the wick by tying it around the pencil.
- Take the melted Crisco, then carefully pour it into the jar.
- Set the jar aside somewhere safe. It will take at least one day for the Crisco to solidify.
- Once the Crisco is solid, trim the wick, remove the pencil, then put the lid back on the jar. Your Crisco candle is now ready for use.
You will need to occasionally trim the wick so keep an eye on your Crisco candle, which will burn for at least 45 days. If you can buy candles at the store, why bother making Crisco candles? The answer is, they’re actually cheaper than store-bought candles.
A 48-ounce can of shortening costs about $5 or less while 200 feet of candle wick is around $8. Using these ingredients, you can make around 200 candles.
Crisco candles are generally safe to use, although they might give off a slight scent when you burn them. Like regular candles, you also need to keep an eye on them, especially if you plan to burn Crisco candles for a long time. Place the candle on a heat-resistant surface, keep it away from anything flammable, and never leave a burning Crisco candle unattended.
Take a look at the items in your pantry. If you have the materials needed for this project, start making your own Crisco candles so you have a backup light source when SHTF.
Sources include:
Tagged Under: bug in, bug out, candlemaking, Crisco, Crisco candles, disaster, DIY candle, emergency, Gear, homesteading, multipurpose tools, off grid, prepping, prepping tips, SHTF, survival, survival tools


