How to properly sight in a rifle scope
06/20/2018 / By Edsel Cook

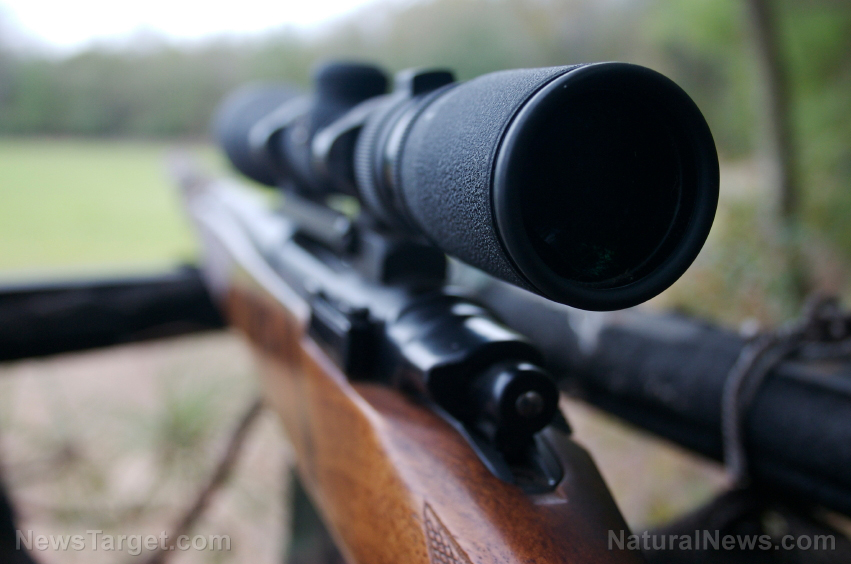
Mounting optics on your rifle will let you get the most bang for your buck. In an article from The Prepper Journal, a properly installed and sighted rifle scope is an immense boon to your marksmanship.
The typical shoulder gun has two ways of mounting a scope: Drilled and tapped holes, or a rail interface system. Adding and fine-tuning scopes on either interface will need certain tools. You should have screwdrivers and Allen keys at hand.
Pick a rifle scope based on your requirements and shooting preference. The scope will need matching rings and a base.
The rings should be firmly fastened on the base. This will prevent the scope from losing accuracy. Consider applying a strong adhesive on the screws.
Your mounting system must be sturdy enough to withstand the recoil imparted by firing your rifle. The bigger your gun caliber, the tougher your scope accessories should be. (Related: COORDINATED: Uncovered emails reveal Obama plotted exploiting Sandy Hook tragedy for gun control push just 48 hours later.)
Aligning your scope and boresighting your rifle
Place your rifle on a stable mount like a bipod, rifle rest, or a shooting platform. Do not set the gun atop a hard surface.
Adjust the crosshairs of the scope. Make sure they are level and aligned with the elevation and windage. A proper alignment prevents the problem of “reticle cant.” Otherwise, crooked or tilted crosshairs can greatly reduce accuracy.
Now it is time to boresight your rifle. This will ensure your scope reticle is centered where you are aiming your rifle.
Secure your rifle in a stable position. Set up a target at a distance of 25 yards. A short-range target will save you bullets, irritation, and time.
Owners of bolt-action rifles and single-shot guns have it easy. If you have the former, remove the bolt. In case of the latter, break open the action.
Look straight down the bore so that you can aim the barrel at the target. Make sure the rifle is secure before adjusting your scope.
Turn the turrets of the scope until the image you see in the reticle becomes the same as the one you viewed through the barrel. Your rifle is now boresighted.
Automatic, lever-action, and pump-action rifles will need a laser boresighter. The gadget can also be used on bolt-actions and single-shots weapons.
Zeroing in your scope and rifle
Once you have boresighted your rifle and adjusted your scope, it is time to test them. Ensure sufficient distance between your eye and the scope. This “eye relief” will protect your eye from getting injured by recoil.
Fire three times at the center of your 25-yard target. If your shot group didn’t hit the center, adjust your scope. Most scope turrets have 1/4 minute of angle (MOA), so one click will move the bullet impact by 1/4 inch on a target at 100 yards. Since your initial target is 25 yards away, turn the turrets by four clicks for every 0.25 inch.
Once you have adjusted your weapon for short ranges, let the barrel cool until it matches the ambient temperature. Meanwhile, set up a new target at 100 yards for zeroing in your weapon.
Decide on what load you want for your gun. Also, pick your desired impact point on a 100-yard target.
For the zeroing-in phase, assume a cozy and relaxed firing position. Take three slow and meticulously aimed shots.
Inspect the 100-yard target. Measure the distance from the center of your shot grouping to the point of aim on your target. Adjust your scope until your shot groups hit your desired impact point.
Take a last three-shot group to confirm your final settings. Then either lock the turrets or put on their protective caps.
Get more helpful tips on how to improve your weapons and marksmanship at Guns.news.
Sources include:
Tagged Under: ammunition, bug out, Collapse, disaster, DIY, firearms, Gear, guides, guns, homesteading, how to, marksmanship, off grid, preparedness, prepper, prepping, rifle scope, self-defense, SHTF, survival, survivalist, tips, weapons


